
Building My Computer
My computer science journey began in 2014 when I decided to build my own computer. I had no idea the difficulty or how much money it would cost compared to a Playstation or Xbox, but I was determined to learn.
Why?
Like any other kid, I played video games and watched a bunch of YouTube in middle school. At the time, I had no idea that games existed on computers and figured they were only on consoles. However, YouTube exposed me to what initially felt like a neverending list of games I had never even heard of.
The two channels I remember watching the most included FRANKIEonPC and SeaNanners. Frankie had a series that started in 2012 where he played Arma 2: DayZ Mod. SeaNanners played a lot of The Hidden and Garrys Mod. None of these were available on consoles.
I wanted to play these games, so I tried downloading them on my old Acer notebook, which didn't work out. So, I started researching how computers worked and how to assemble one myself.
Learning
I began learning how computers worked using YouTube. Notable channels I remember watching A LOT included Carey Holzman and Austin Evans. These guys have some great videos covering the basics of building computers and following best practices. After many hours of videos, I started to feel confident I could do it myself.
Choosing Parts
The best way to choose parts is by using PCPartPicker. I used this for my first build and just recently to plan out a build I did for my brother. It finds the best prices and ensures it will only show you parts that are compatible with everything else you have already chosen. For example, selecting an Intel CPU will only show you the motherboards made for that specific processor. This is incredibly helpful, especially for a beginner. I planned to save as much as possible and ask for parts on Christmas and my birthday. These are the parts I ended up starting with.
- i5 4690k
- 8GB DDR3 Ram
- Geforce GTX 970
- 1TB HDD Storage
The Build
Once I had all my parts, I could finally start the build. Because this process was foreign to my parents and everyone else in my family, I was entirely on my own. First, I assembled the motherboard and added the CPU and RAM. I then put the power supply, motherboard, and hard drive into the case. Once everything else was done, I attached the graphics card and began wiring.
Wiring was the part I found to be the most difficult. I wanted to ensure everything looked clean and that I had good cable management. Here is the only picture I could find of the final product. Not a horrible result for the first time.
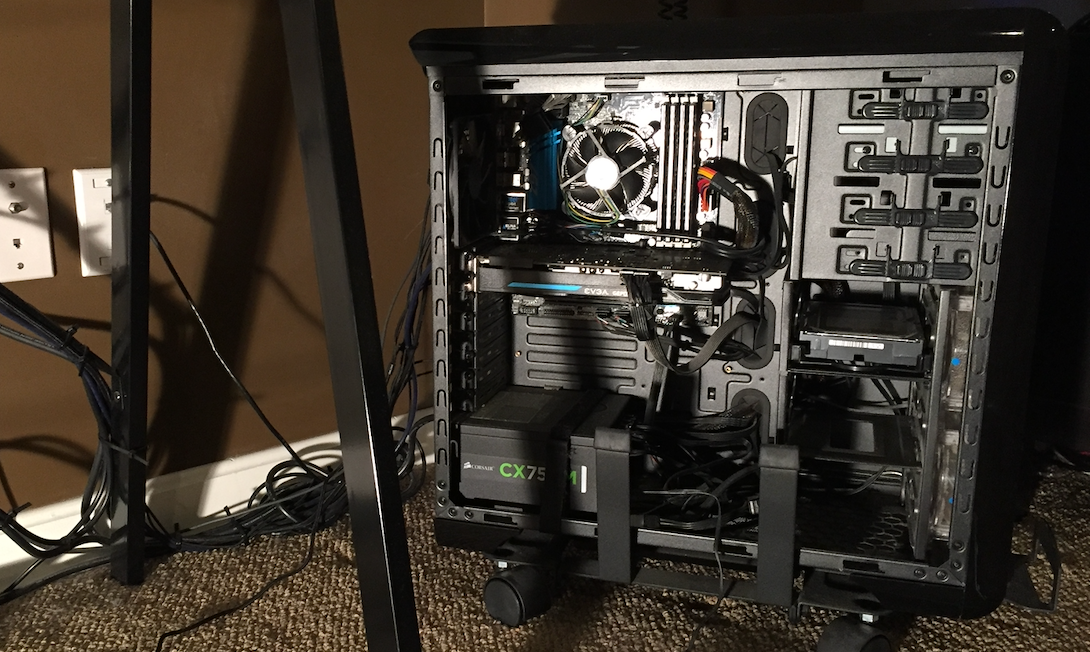
All that was left to do was see if it booted and then install Windows. My first boot was unsuccessful. It was nerve-wracking at first, but I quickly rechecked all my wiring and found I had not fully connected the main 24-pin power cable. After that, everything worked like a charm.
I was finally able to play the games I wanted and felt very accomplished. This experience ended up getting me interested in computer science. Although software is usually separate from the hardware side of things, I may have never thought about programming if it was not for learning this new skill.
Conclusion
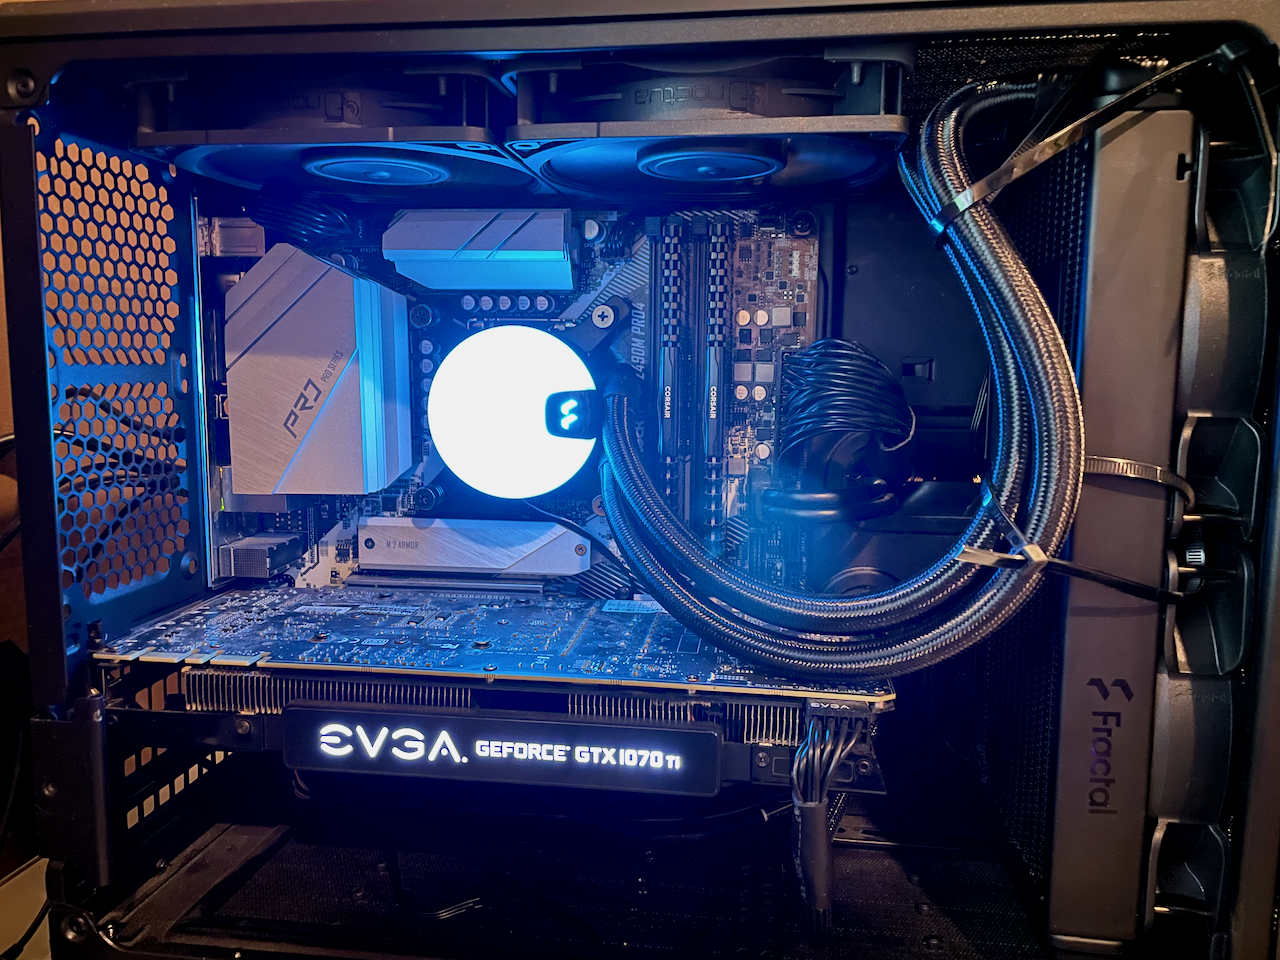
Over the years, I have upgraded my computer many times in small increments.
- Rebuilt entirely into a smaller micro atx case
- Upgraded the graphics card and switched to using a solid state drive
- Upgraded the processor, motherboard, ram, and power supply
- Upgraded fans to Noctua and installed an AIO liquid cooler
- Switched to an M2 NVME SSD
And here we are today.
I have recently been interested in rebuilding into an even smaller form factor, mini itx, for better portability between home and school. I would also like to upgrade my graphics card, but the current market still makes it extremely hard to do so. Maybe in the future?